Whip Up Perfect No-Churn Nutella Ice Cream at Home
Imagine a dessert so rich, so creamy, and so utterly satisfying that it can cure an afternoon sugar craving, mend a metaphorical broken heart, or simply elevate a regular evening into a celebration. Now, imagine making it yourself with minimal effort and no fancy ice cream machine. Welcome to the wonderful world of homemade Nutella Ice Cream!
There's something inherently magical about Nutella. Its decadent blend of roasted hazelnuts, cocoa, and sugar evokes a sense of comfort and indulgence. When transformed into ice cream, that magic intensifies, offering a velvety, melt-in-your-mouth experience that is truly unparalleled. And the best part? Our no-churn method makes this dream a reality for every home cook, regardless of their dessert-making prowess.
This article will guide you through creating an incredibly easy, incredibly delicious, and utterly egg-free Nutella ice cream, complete with tips for achieving the perfect texture, adding delightful mix-ins, and storing it to perfection. Prepare to discover your new favorite homemade treat!
Why No-Churn Nutella Ice Cream is Your New Obsession
The allure of no-churn ice cream lies in its beautiful simplicity. Traditional ice cream making often requires an ice cream maker, an appliance not everyone has or wants to invest in. It can also involve cooking a custard base, cooling it, and then churning it. While delicious, it's a multi-step, time-consuming process.
No-churn ice cream, however, bypasses all these complexities. Typically, it relies on whipped cream and a sweetened condensed milk base, which, when combined with your chosen flavors and frozen, results in a surprisingly creamy texture. For our Nutella Ice Cream, the rich fat content of Nutella itself further contributes to that luxurious mouthfeel, acting as a natural emulsifier and adding body without the need for eggs or extensive cooking.
The combination of Nutella and a simple, no-churn approach means:
- Effortless Preparation: No specialized equipment, no custard-making, just simple mixing.
- Incredible Flavor: The intense chocolate-hazelnut profile of Nutella shines through beautifully.
- Creamy Texture: Achieved through the right balance of ingredients, avoiding the icy pitfalls of some homemade frozen desserts.
- Versatility: A perfect base for endless customizations, from simple swirls to crunchy mix-ins.
Whether you're battling a severe sugar craving, looking for a crowd-pleasing dessert, or simply want to treat yourself to something extraordinary, this homemade Nutella Ice Cream recipe is a game-changer. It's so easy, you might find yourself making batches of it on repeat!
Crafting Your Perfect Nutella Ice Cream Base
The foundation of any great ice cream is its base, and for our easy egg-free Nutella ice cream, it couldn't be simpler. You'll need just a few core ingredients:
- Heavy Cream: This is the workhorse of no-churn ice cream, whipping up to create the airy, light texture.
- Nutella: The star of the show, providing unparalleled flavor and contributing to the creamy consistency.
- Granulated Sugar: Adds sweetness and helps to prevent large ice crystals from forming.
- Vanilla Extract: Enhances all the other flavors, adding a touch of warmth.
- A Pinch of Salt: Crucial for balancing sweetness and intensifying the chocolate and hazelnut notes.
The Secret to a Streak-Free Swirl
One common pitfall with Nutella-based desserts is streaks of undissolved spread. To ensure your Nutella Ice Cream has a uniform, beautiful chocolate-hazelnut color and flavor, there's a simple trick: combine the Nutella and sugar first, and then gradually incorporate the other liquids.
Here’s how to do it:
- Start by gently warming your Nutella slightly if it's very stiff, making it easier to work with. You can do this by placing the jar in warm water for a few minutes or microwaving it briefly (stirring frequently).
- In a large bowl, combine the slightly softened Nutella with the granulated sugar. Whisk them together until well integrated. This step helps break down the Nutella and ensures the sugar dissolves effectively.
- Next, slowly add a small amount of your heavy cream (or milk, if you prefer to use a splash of milk first as some recipes suggest for easier dissolution) to the Nutella-sugar mixture, whisking until smooth and fully combined. This creates a more pliable mixture, preventing streaks when the rest of the cold cream is added.
- Once you have a smooth Nutella paste, gradually incorporate the remaining heavy cream, vanilla extract, and a pinch of salt. Beat the mixture using an electric mixer until it's light, fluffy, and holds soft peaks. Be careful not to overbeat, as this can make the ice cream grainy.
This method ensures the Nutella is thoroughly integrated, resulting in a consistently flavored and beautifully colored base every time. For an added layer of complexity and to truly play up the chocolate notes, consider adding 1/4 teaspoon of coffee extract to the base – it won't make it taste like coffee, but it will significantly boost the chocolate flavor!
Elevating Your Nutella Ice Cream: Add-Ins and Freezing Techniques
While a plain scoop of creamy Nutella Ice Cream is divine on its own, this recipe truly shines with the addition of complementary textures and flavors. One of the most mouthwatering combinations, and a personal favorite, is with Oreo cookies, creating a sinfully delicious no-churn Nutella Oreo ice cream recipe.
Irresistible Add-Ins:
- Oreo Chunks: Crush your favorite chocolate sandwich cookies and fold them into the mixture during the freezing process. The dark chocolate and creamy filling of the Oreos perfectly complement the hazelnut spread.
- Chocolate Chunks/Chips: For an extra layer of chocolatey goodness, mix in semi-sweet or milk chocolate chunks.
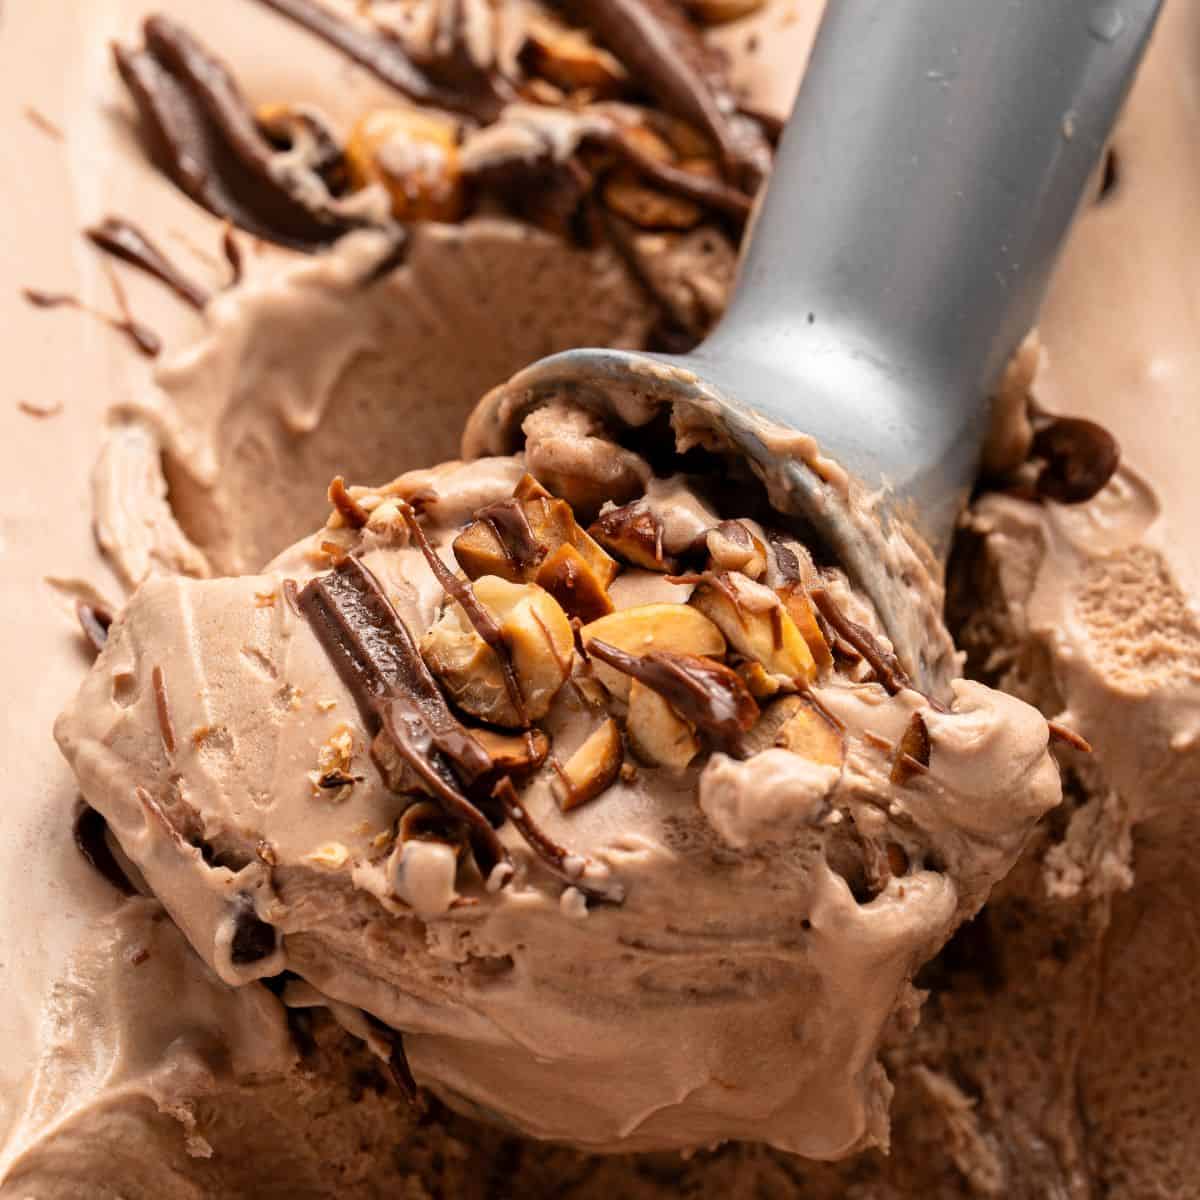
- Toasted Nuts: Chopped hazelnuts, almonds, or pecans can add a lovely crunch and further enhance the nutty profile.
- Caramel or Fudge Swirls: Drizzle in warm caramel or hot fudge sauce as you layer the ice cream into your container for beautiful ribbons of flavor.
- Mini Marshmallows or Pretzels: For a fun texture contrast, mini marshmallows add chewiness, while crushed pretzels offer a salty crunch.
The Freezing Process for Ultimate Creaminess:
The beauty of no-churn is that you can simply pour your mixed base into a freezer-safe container and freeze. However, for an exceptionally smooth, scoopable texture reminiscent of churned ice cream, you can incorporate a few intermittent steps:
- Initial Freeze: Pour your blended Nutella Ice Cream base into your chosen freezer-safe container (a loaf pan works wonderfully). Freeze for about 45 minutes to an hour, until the edges start to firm up but the center is still soft.
- First Whip/Blend: Remove from the freezer. If using a mixer, give it a quick whip for 15-20 seconds to break up any developing ice crystals and re-incorporate air. If not using a mixer, vigorously whisk with a fork. This step is where you would fold in your crumbled Oreos or other desired mix-ins.
- Second Freeze & Repeat: Return the ice cream to the freezer for another 45 minutes to an hour. Repeat the whisking/blending process one or two more times. Each intervention helps to create a finer, smoother consistency by distributing fat and air evenly and disrupting ice crystal formation.
- Final Freeze: After the last whisk, cover the ice cream securely (more on storage below) and freeze until solid, typically 4-6 hours or overnight.
While the repeat whisking is an optional step that takes a little more time, it's a fantastic technique for achieving an incredibly silky, professional-grade texture in your homemade Nutella Oreo ice cream (or any no-churn variety).
Expert Tips for Storing and Enjoying Your Homemade Treat
Once you've crafted your perfect batch of Nutella Ice Cream, proper storage is key to maintaining its fresh taste and delightful texture for weeks to come. Here’s how to ensure every scoop is as good as the first:
- Choose the Right Container: Opt for a freezer-safe container that is airtight. A standard loaf pan is a popular choice for homemade ice cream because its shape makes scooping easy. For long-term storage, a plastic container with a tight-fitting lid is ideal.
- Prevent Ice Crystals: The enemy of creamy ice cream is dreaded ice crystals. To combat this, place a layer of plastic wrap directly onto the surface of the ice cream before securing the lid. This creates a barrier, preventing air from reaching the surface and forming crystals.
- Coldest Spot in the Freezer: Store your ice cream in the coldest part of your freezer, usually towards the back. The front of the freezer experiences more temperature fluctuations each time the door is opened, which can lead to melting and refreezing – the primary cause of grainy, icy ice cream.
- Serve Smartly: When it's time to enjoy, only take out the amount you plan to serve. Scoop what you need quickly and return the container to the freezer immediately. This minimizes exposure to warm air, keeping the rest of the batch perfectly creamy. If the ice cream is too hard, let it sit on the counter for 5-10 minutes to soften slightly before scooping, but don't let it melt completely.
Stored properly, your homemade Nutella Ice Cream will remain delicious for several weeks, though we doubt it will last that long!
Making your own no-churn Nutella Ice Cream is not just a recipe; it's an experience. It’s the joy of creating something truly indulgent with your own hands, the satisfaction of a simple process yielding extraordinary results, and the sheer delight of savoring every rich, creamy spoonful. So go ahead, whip up a batch, invite some friends, or simply treat yourself. You deserve this sinfully delicious, easy-to-make homemade dessert!